
Resin 3D printing: error-free washing and post-curing
From removal from the plate to final curing: a convenient flow to wash, dry and post-cure resin parts with more control and confidence.
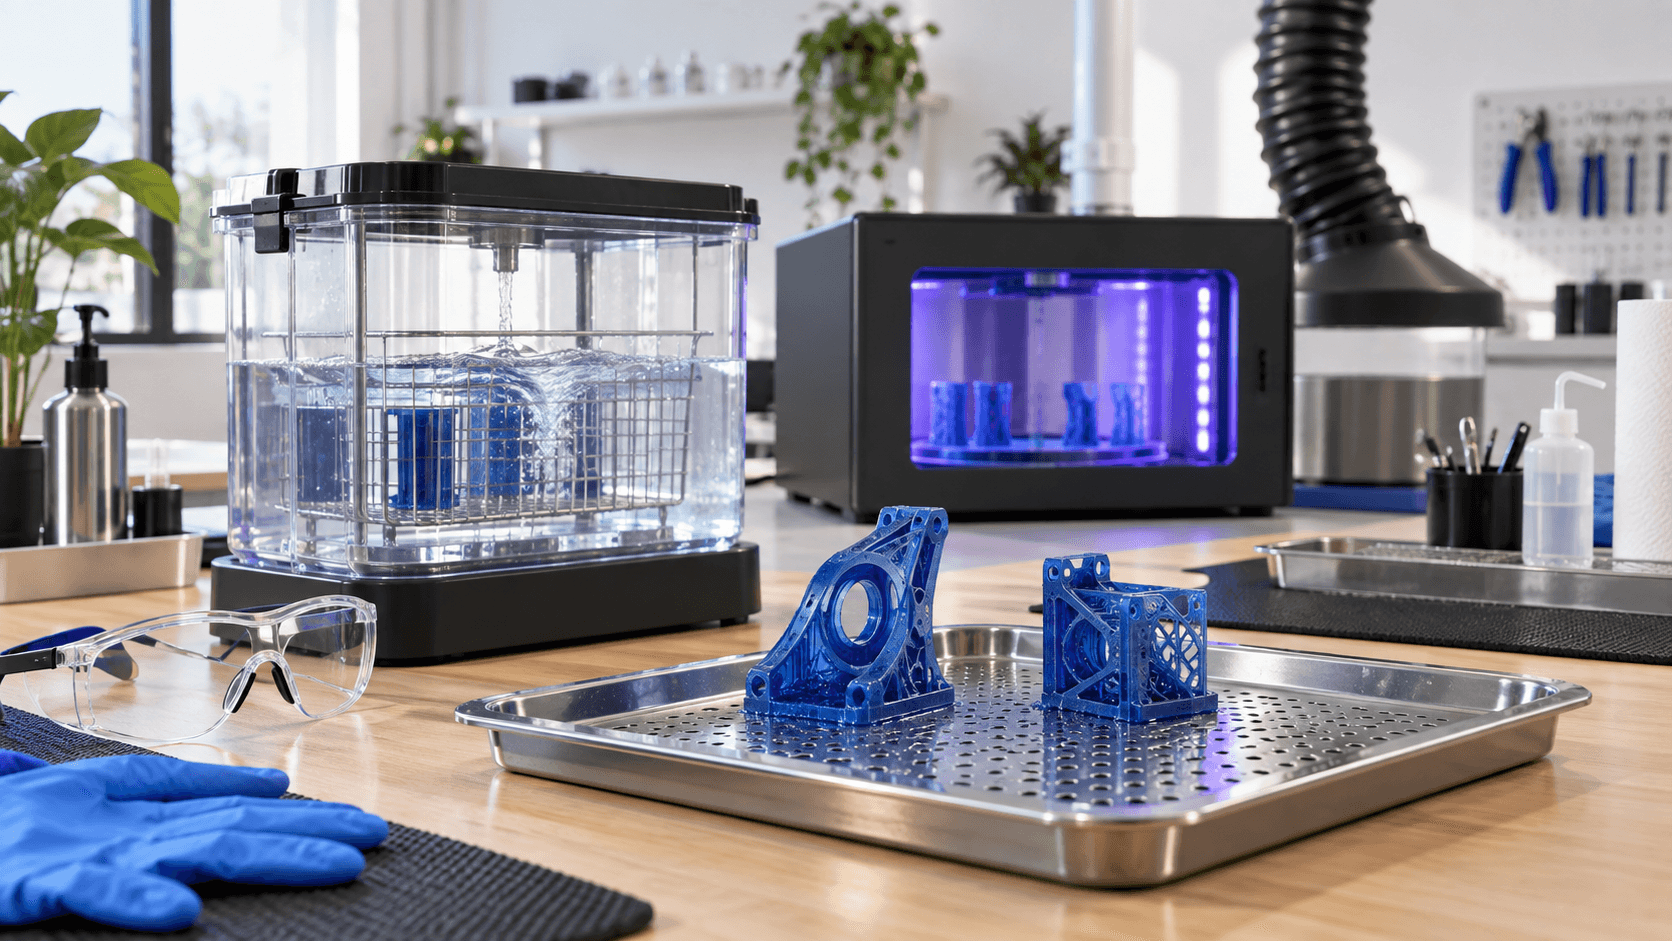
The printing ends, the process does not
When the plate rises, a resin part is not yet ready to be touched, assembled or delivered. Liquid material remains on the surface; furthermore, many resins reach their final properties only after washing, drying and post-polymerization. Skipping or improvising these steps can leave sticky areas, halos, muddy details or a fragile and deformed piece. However, there is no universal recipe. Formulation, color, geometry, thickness and application change required solvent, duration and temperature. The correct sequence always starts from the resin instructions and the relevant safety data sheet, or SDS. The minutes reported in this guide do not replace the manufacturer's parameters: the goal is to build a controllable method.
Prepare a dirty area and a clean area
Organize your desk before opening the printer. In the dirty area, place a tray with edge, compatible absorbent paper, dedicated tools and closed and labeled containers. The cleaned area will be used for drying, inspection and curing. This separation limits resin transfer onto handles, switches and common objects. Use the personal protective equipment indicated in the SDS, normally suitable disposable gloves and eye protection, and ensure the required ventilation. Isopropyl alcohol is volatile and flammable: it should be kept away from flames, sparks and heat sources, in a compatible and closed container when not in use. Children, animals, food and drinks must stay out of the work area.
Let it drip and recover the useful resin
Before washing, tilt the plate over the tub, according to the machine's instructions, and let the excess resin fall. Adequate drain time reduces bath contamination and solvent consumption. For hollow models, orient the drainage holes so that liquid does not get trapped; verify that the project has sufficient openings already in the preparation phase. Remove the piece with the provided tool, working on the tray and without directing the blade towards the body. The supports can be removed before or after curing depending on the material, geometry and finish sought. "Soft" ones are often easier to cut, but hasty removal can tear edges or leave craters.
Wash with the liquid provided by the manufacturer
The bath is to remove uncured resin from the surface, not to cure the piece. For many resins IPA is used, for others a specific detergent or water. The words "washable in water" do not render either the resin or the liquid used harmless: the washing water contains residues and should not be poured into the sink. It must be collected and managed according to SDS and local rules, like other contaminated waste. A two-tank process helps keep the result stable: the first bath removes most of the material, the second, cleaner one, refines the surface. Move or agitate the liquid with the appropriate equipment, checking cavities, blind holes and areas under supports. Prolonging the bath "to be safe" is not always better: some materials absorb solvent, swell or develop microcracks. Therefore respect the window indicated for that specific resin.
Dry completely and then inspect
After washing, allow all the solvent to evaporate in a ventilated area protected from UV light. Formlabs recommends that parts are completely dry before post-curing; Residual solvent or resin can produce stains, an uneven gloss surface, and contamination of the chamber. For hollow geometries, rotate the piece and check that no liquid pockets remain. Inspect with uniform light. The surface should appear homogeneous and have no wet or shiny areas due to free resin. If an area remains tacky after drying, don't immediately compensate with more UV - it may indicate a saturated wash bath, incomplete washing, or trapped liquid. Repeat washing locally with clean solution, if compatible with instructions, then dry again.
Post-cure with specific parameters
Post-curing completes the reaction started in printing and allows many resins to come close to the declared mechanical properties. Wavelength, time and temperature should be those recommended for the brand, family and version of the material. A turntable chamber helps with uniformity, but bases, cavities, and shielded surfaces may require repositioning. More exposure does not automatically equal a better piece. Excessive cycling can change the color or behavior of the material; an insufficient one can leave properties unstabilized. For technical components note resin, batch, printer, profile, wash, dry time and UV cycle. If the part has structural function, skin contact, medical use, or other regulated requirements, only follow the manufacturer's qualified process and validate the application.
Recognize errors from the result
A sticky surface after the cycle can arise from saturated solvent, insufficient washing, incomplete drying, or UV not reaching an area. A whitish film is often associated with residue left to dry or cure on the part. Rounded details may indicate resin remaining in cavities; Hairline cracks can be favored by too long exposure to the solvent. Deformations during curing require checking the piece's support, temperature and thicknesses. Fix one variable at a time. Changing the fluid, timing and intensity at the same time obscures the cause. A small coupon printed with the component allows you to compare finish and stiffness between cycles without immediately risking the final part.
Manage consumables and waste as contaminated materials
Solvent, wash water, paper, gloves and filters that have come into contact with liquid resin require management consistent with SDS and local regulations. Don't assume that exposing a full container to the sun automatically makes the contents disposable: volumes, flammable solvents and residues require specific procedures. Store waste in compatible, closed and labeled containers and dispose of it via the authorized local waste collection system. ADIVO can support you in the choice of material, in the preparation of the model and in the definition of a repeatable printing and post-processing cycle. Send the 3D file, the quantity and the intended use: we will evaluate together the geometry, finish and requirements of the component before producing the series.